Godot Multiplayer on AWS
19 Apr 2022If you want to make your first multiplayer game with Godot on AWS, I think I can help you.
I make a lot of awful games. But with multiplayer, I can force my friends to play my awful games with me.
 Here’s my last multiplayer game, Matchy Miners.
By the end, we’ll get a multiplayer game like this running in AWS.
Step 1
Download the starter project.
- Download or clone the project from the github repo.
- Import the project into Godot.
- Launch Godot.
- Click
Import. - Navigate to the
.projectfile in the downloadedgodot-network-multiplayer-starterproject. - Click
Import & Edit.
Step 2
Create the server locally.
- With Godot open, navigate to
res://Scenes/Network.tscn. - Click the root node
Network. - In the inspector, set
Connection Typetoserver. - Export the project as an executable. (
Project > Export > Export Project)- This executable will be your server!
- Run the executable.
- Once you run the server, you don’t have to do anything else with it. Just make sure its running.
Step 3
Run the game locally!
- In the Godot project, go back to
res://Scenes/Network.tscn. - In the inspector, set
Connection Typetoclient. - Play the project!
- In the game window, type in your name and the server host.
- Your name is up to you!
- The server host will be
127.0.0.1for now.127.0.0.1orlocalhostrepresents the computer that the code is working on.
- Something like this:
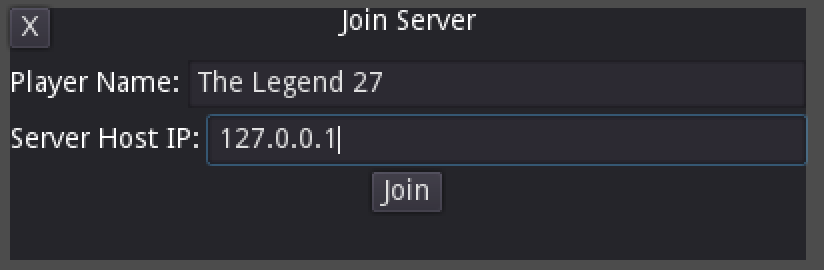
- Press
Join.- You should now be in the game.
- Move around with W/A/S/D or Up/Left/Down/Right.
- Type in chat by pressing Enter.
- Put that window right up next to your Godot game window.
- When you move or chat in the game window, you’ll see yourself move on the server!
Step 4
Create the server on AWS.
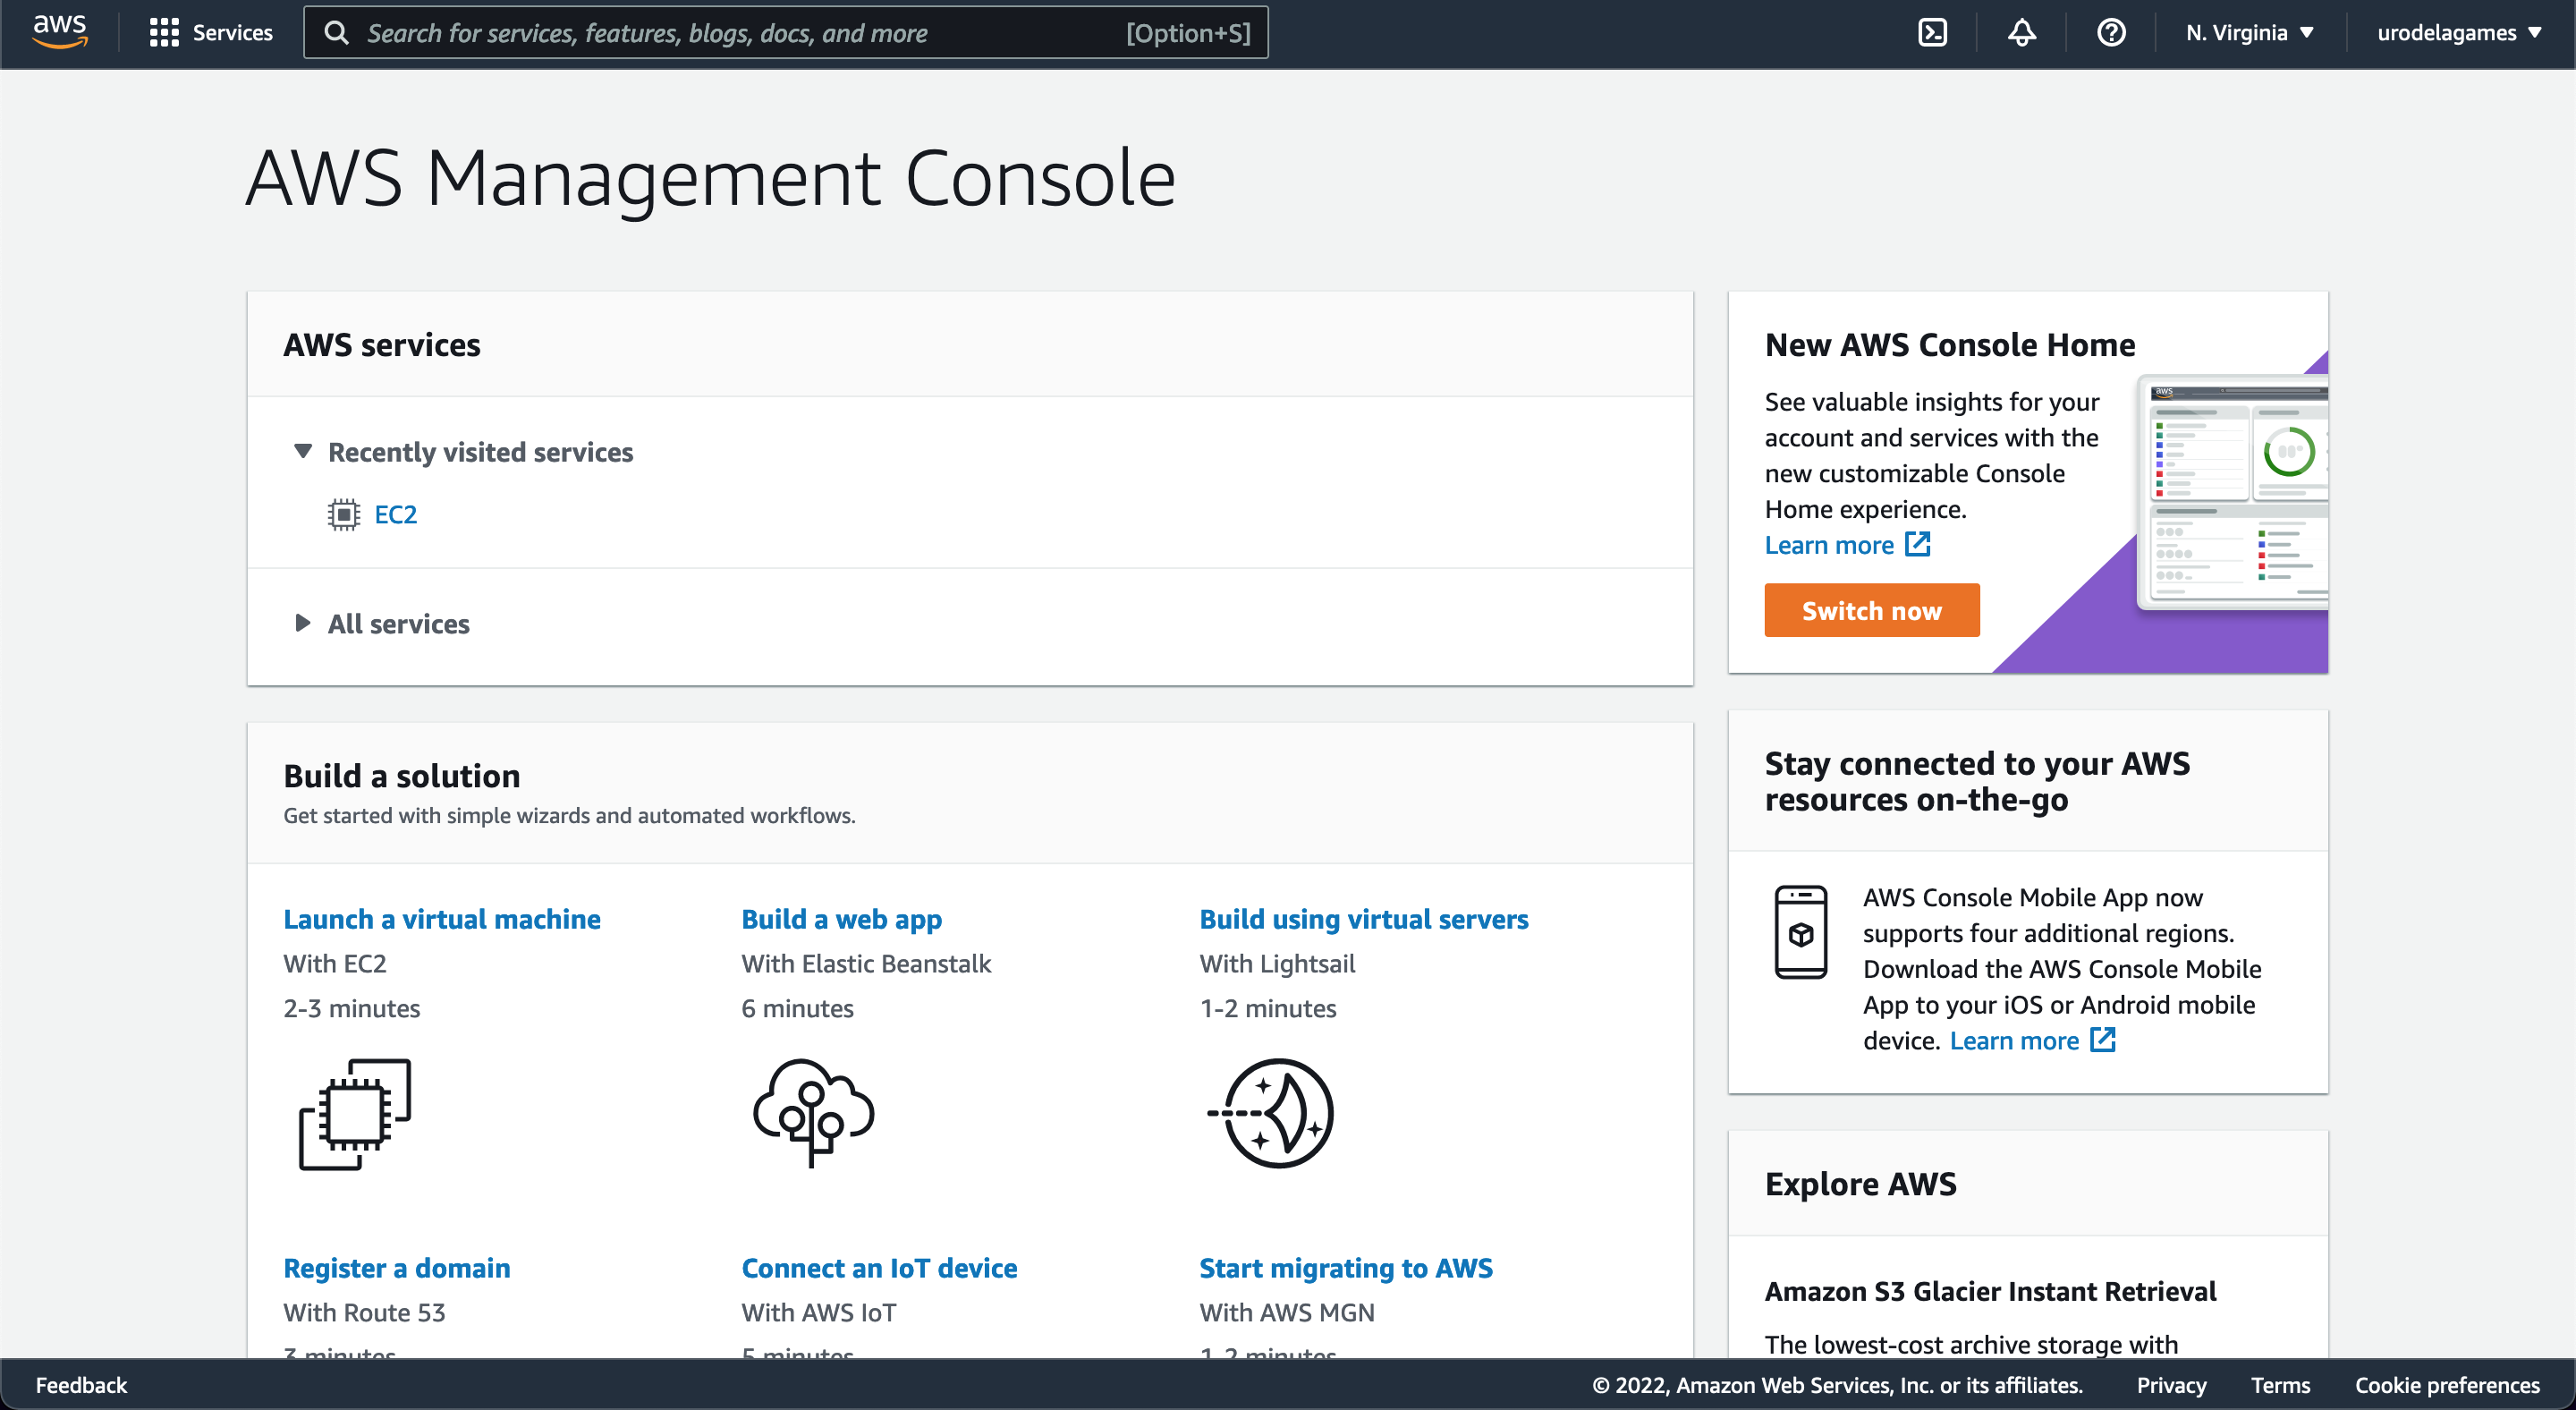
-
Create a free AWS account here if you don’t already have one. The page should look like this after logging in.
-
Navigate to
Services > Compute > EC2.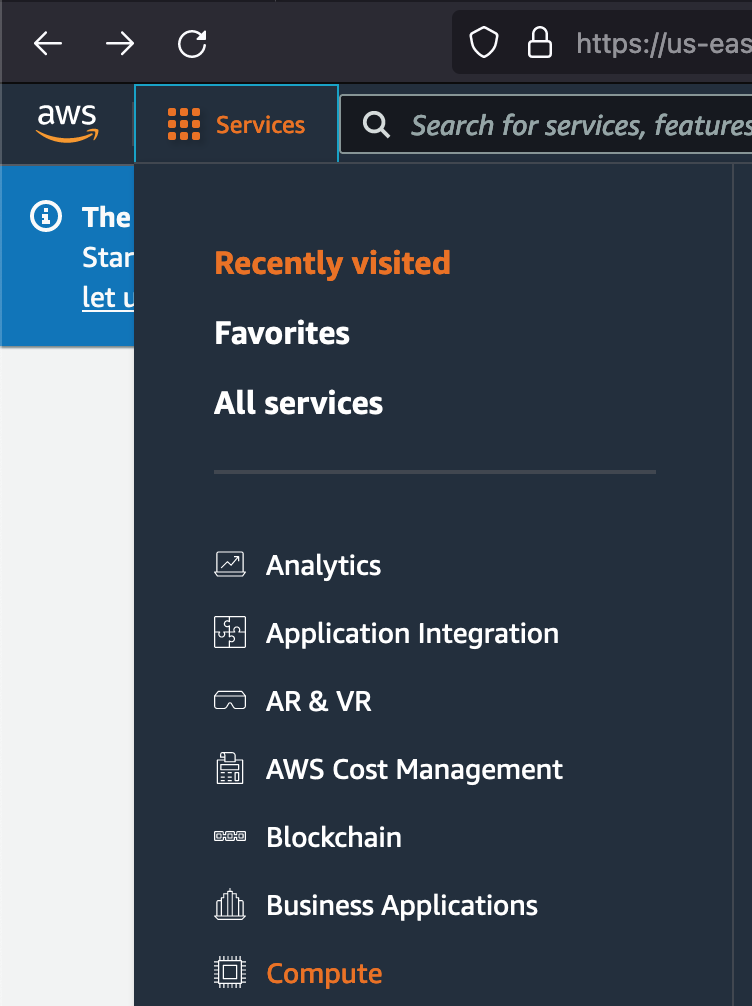
-
Launch a free EC2 instance.
-
 An EC2 instance is basically just a server in the AWS cloud.
- Click
Launch Instance.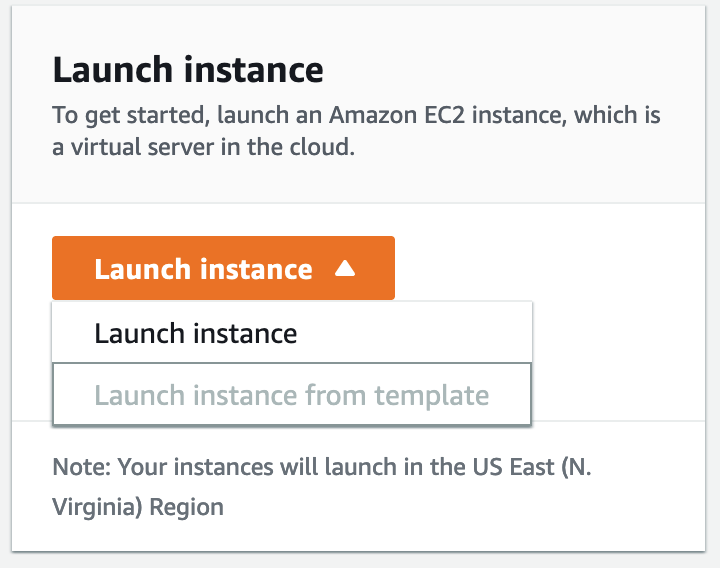
-
 Make sure to choose the
 t2.microinstance type. It should sayfree tier eligible.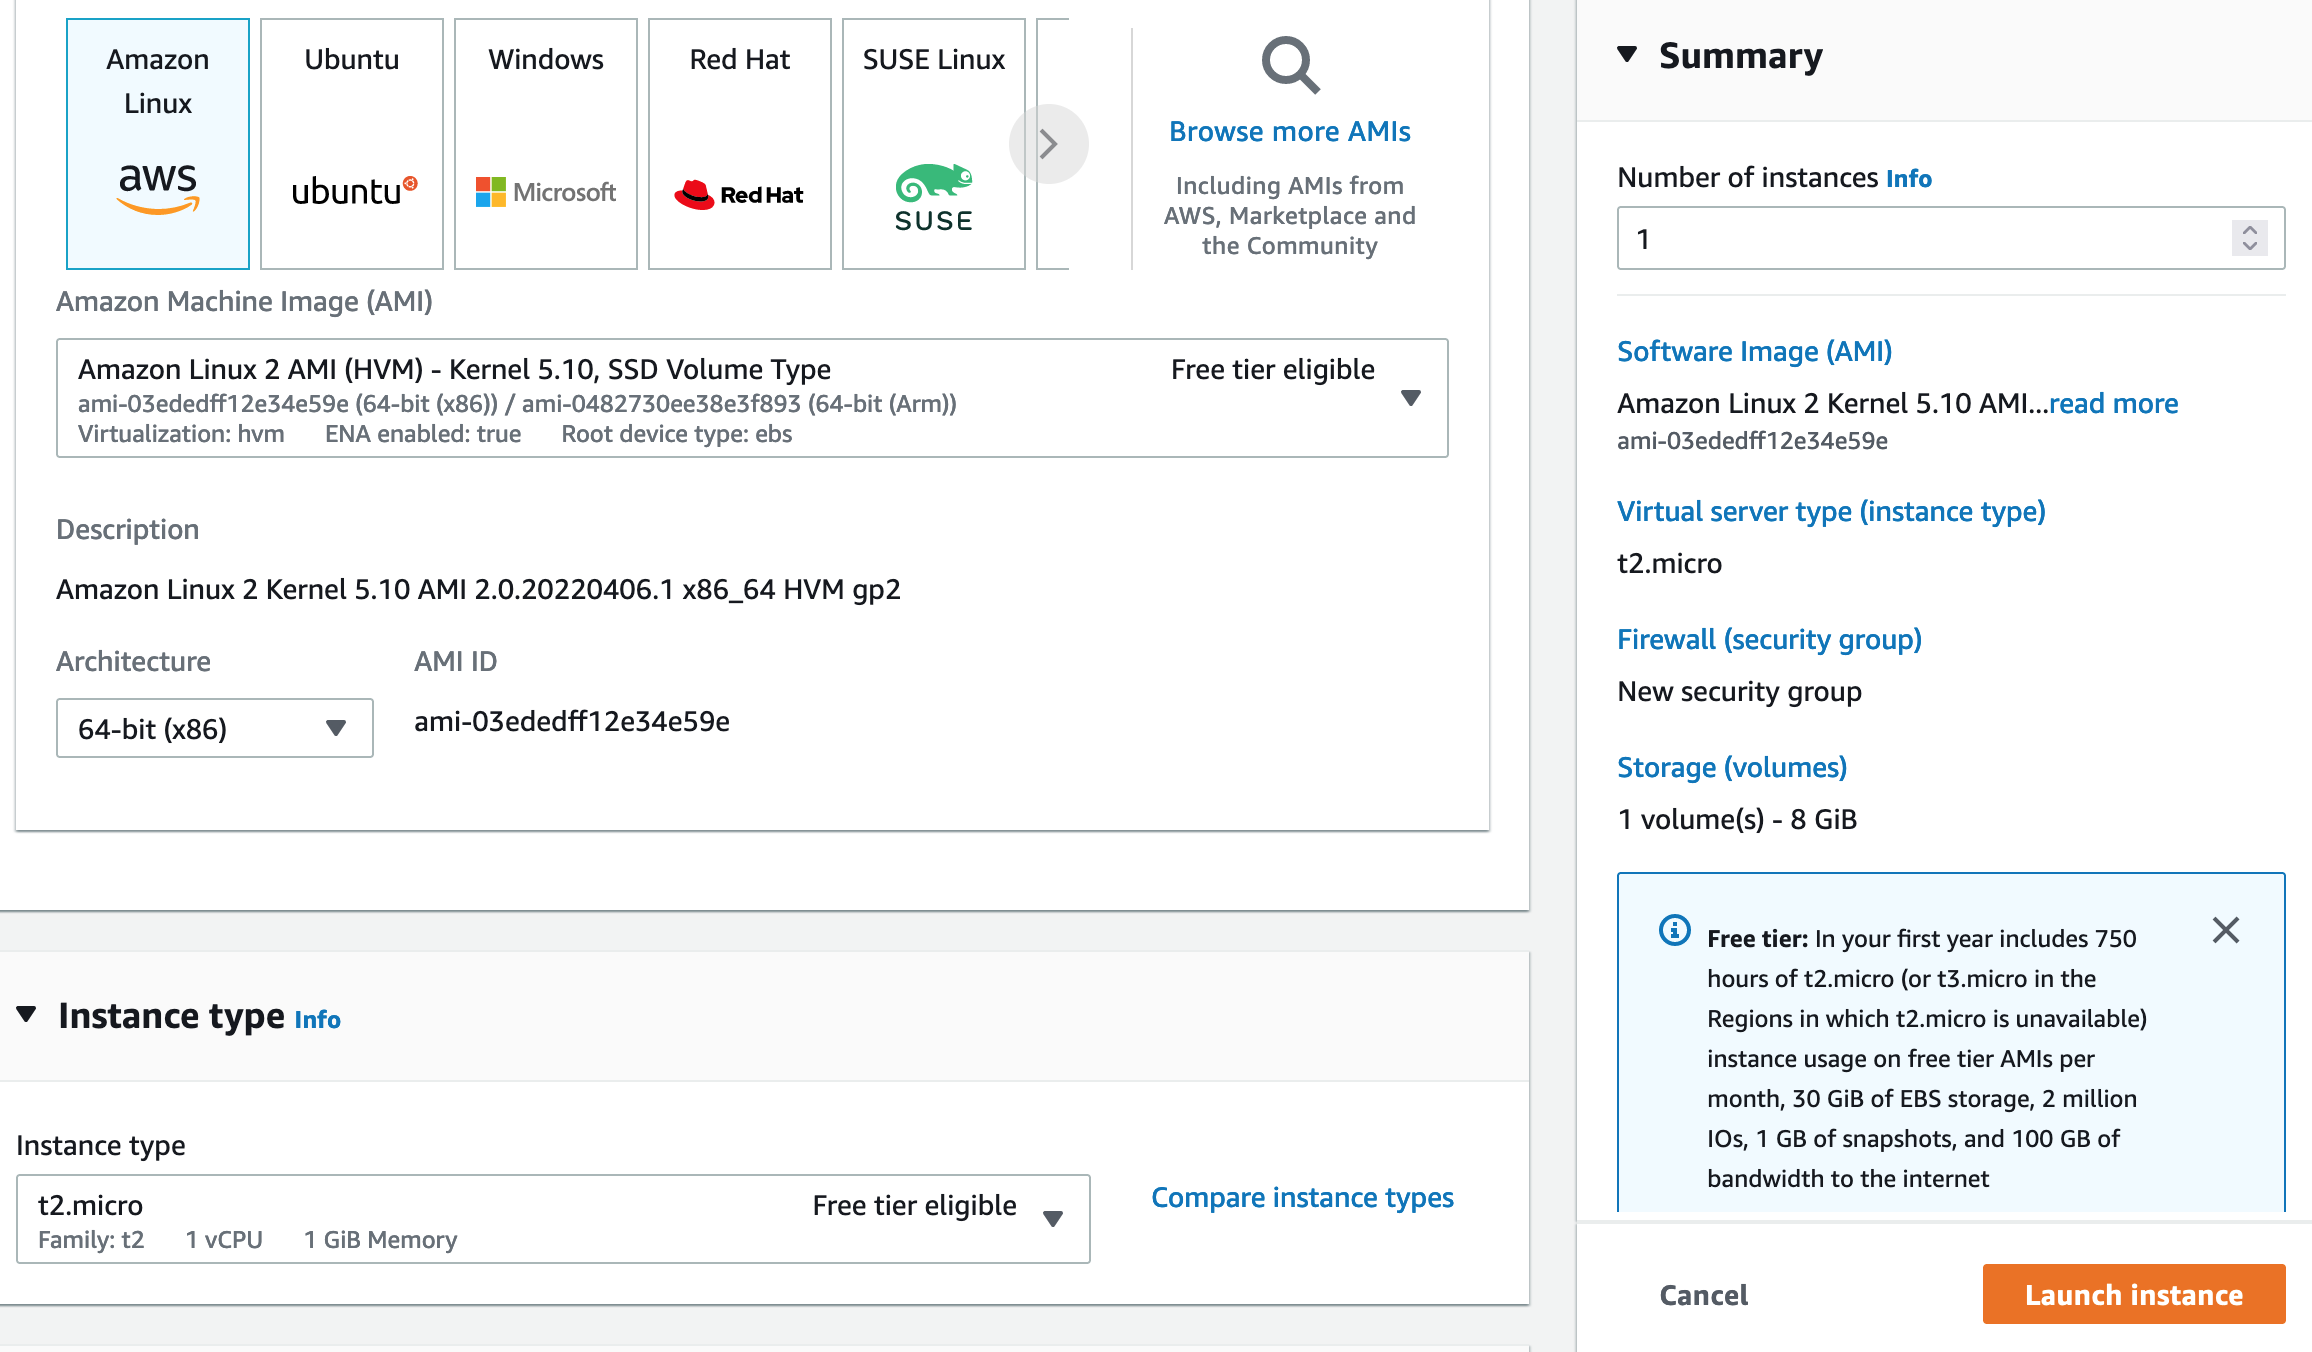
- Create a key pair so that you are authorized to connect to the server later.
- Click
Create a new key pair.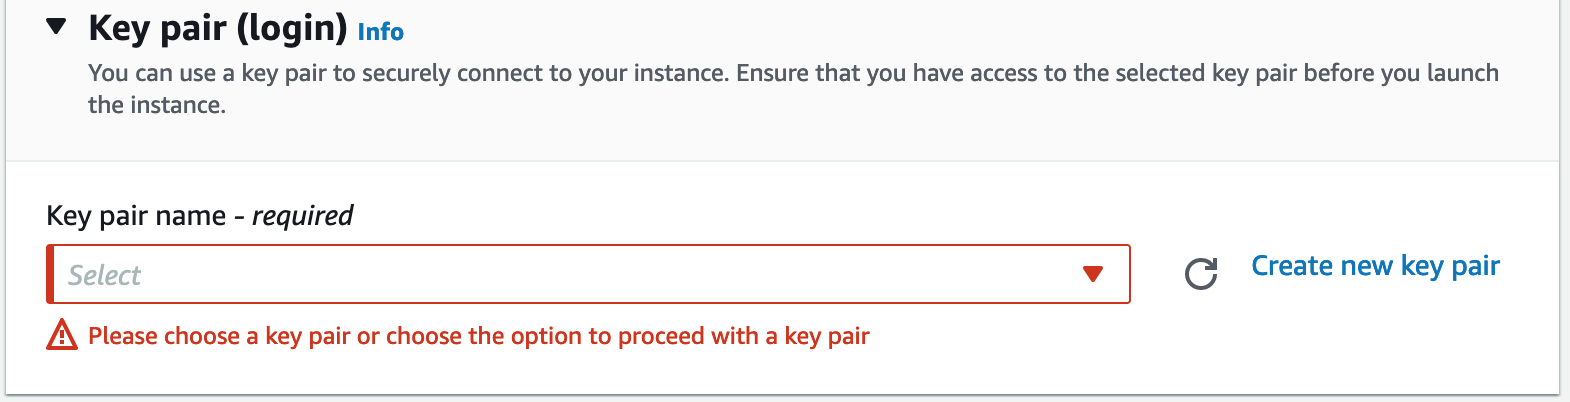
- Use these values are press
Create key pair.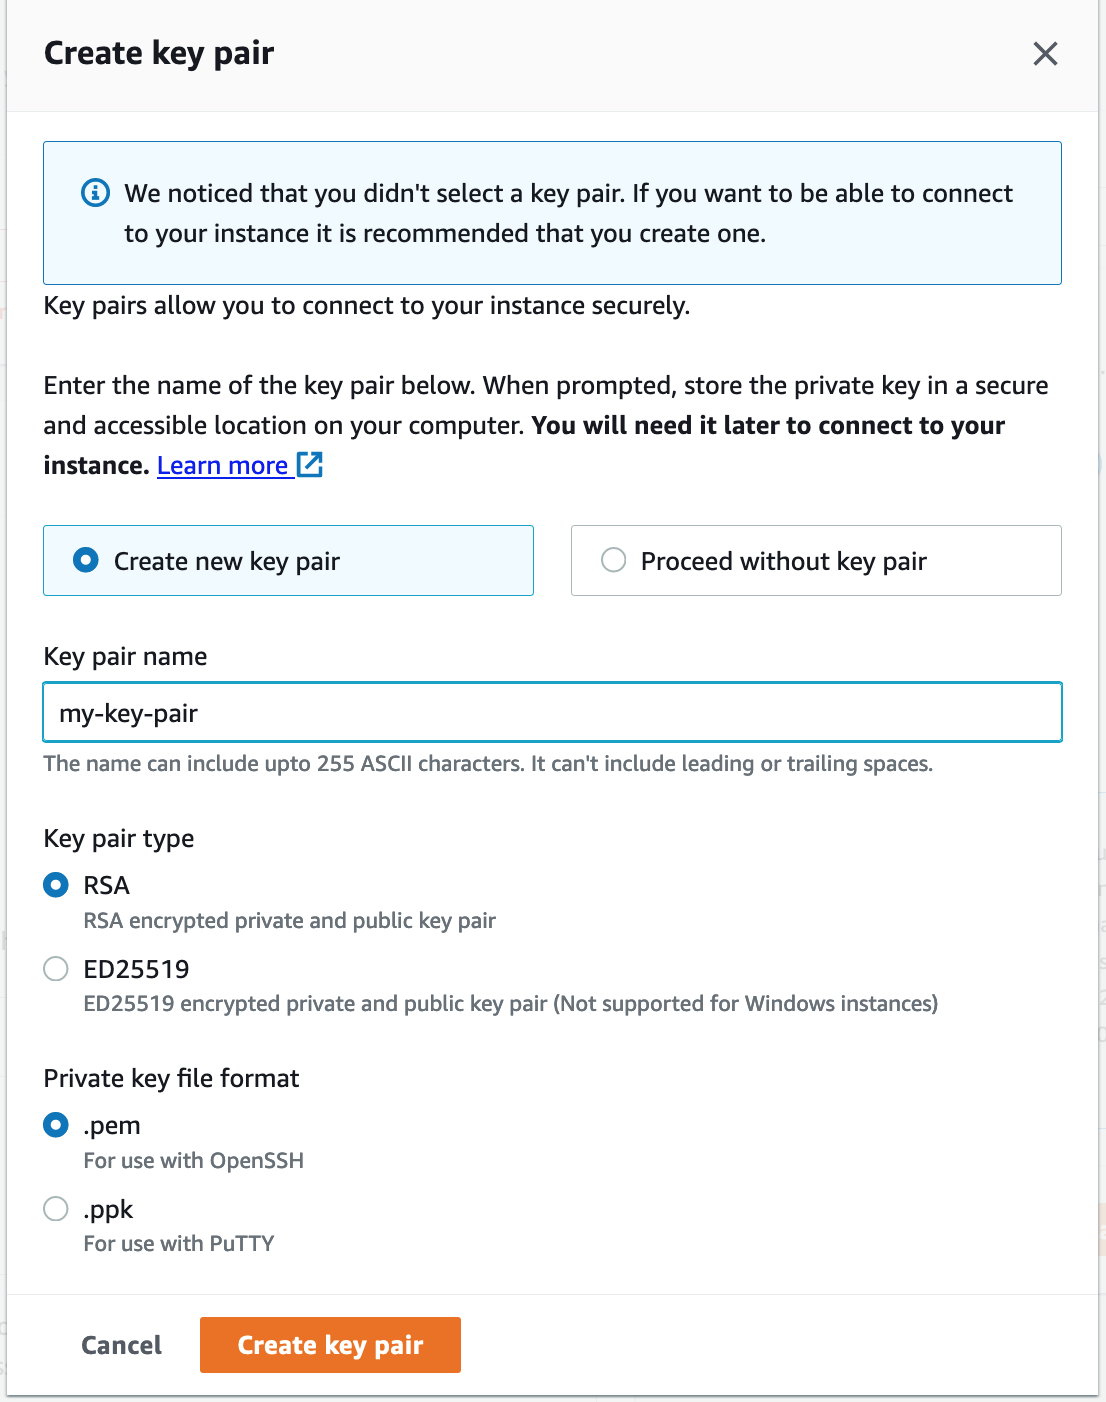
- After you create the key pair, it should save a
.pemfile to your computer. Remember that location. 4. PressLaunch Instance.
- Click
-
Step 5
Configure the EC2 instance on AWS.
-
Click on the EC2
Instance ID. It should be named something likei-0a8f5d7cafdc0a9e6.
-
Under the
Security Groupssection, click on the security group named something likesg-0a7003edc6121a09c.
-
Click
Edit Inbound Rules. - Click
Add Rule. SelectAll TrafficforTypeandAnywhere-IPv4forSource.-
This makes your server very insecure. But for the purposes for our first multiplayer game, it’s fine. Make note that security will have to be tighter for a commercial game.
-
-
Click
Save Rules. - Repeat steps #3 through #5 for
Outbound Rules. Start atEdit Outbound Rules.
Step 6
Upload the Godot server to the EC2 instance on AWS.
Instead of running the server executable on your local machine, we’re going to upload the server to AWS EC2 and run it from there.
chmodpermissions commands,scpcommands to write files to AWS, andsshcommands to run Godot on AWS.
- In the Godot project, export the project as a Linux build (
.x86_64and.pckfiles). - Open your terminal/command prompt on your local machine.
- Navigate to a folder that has both the
.pemfile and the.pckfile. - Change permissions to
.pemfile. On a bash terminal, runchmod 400 my-key-pair.pem. - Copy the
.pckfile from your local machine to the EC2 instance using anscpcommand:-
scp -i [PEM_FILE_NAME] [PCK_FILE_NAME] ec2-user@[PUBLIC_IPV4_DNS]:/home/ec2-user/-
[PEM_FILE_NAME]is the path to the.pemfile -
[PCK_FILE_NAME]is the path to the.pckfile -
[PUBLIC_IPV4_DNS]is the value calledpublic IPv4 DNSon the AWS console.
-

-
Step 7
Run the Godot server on the EC2 instance on AWS.
- SSH into the EC2 instance on AWS.
ssh -i [PEM_FILE_NAME] ec2-user@[PUBLIC_IPV4_DNS]- For example:
ssh -i my-key-pair.pem ec2-54-90-177-85.compute-1.amazonaws.com
- Update the EC2 instance and install Godot on the EC2 instance.
sudo yum install wget && sudo yum install unzip && wget https://downloads.tuxfamily.org/godotengine/3.4.4/Godot_v3.4.4-stable_linux_server.64.zip && unzip Godot_v3.4.4-stable_linux_server.64.zip
- Run the Godot server from the EC2 instance:
nohup ./Godot_v3.4.4-stable_linux_server.64 --main-pack godot-network-multiplayer-starter-server.pck &
- Disconnect from the EC2 instance.
Step 7
Play the game while connected to your server on AWS!
- Play the Godot project.
- Type in your desired name in the
Player Namefield. - Type in the
Public IPv4 addressof the EC2 instance in theServer Host IPfield.- The
Public IPv4 addresscan be found on the AWS console and looks like this: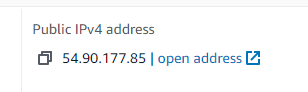
- The
- Press
Joinand enjoy! Have multiple people join the sameServer Host IP!
Setting up AWS resources can be scary, but it can be really helpful in getting your first online multiplayer game setup with Godot.